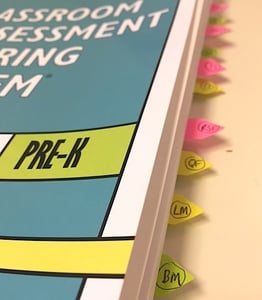
Let’s skip past all the reasons reliability on the CLASS® measure is super important. If you’re reading this, you’ve probably been to a CLASS training and already know that improving teaching starts with gathering fair and valid observation data—hence the dreaded CLASS reliability test, to prove your coding skills are on point.
You might be nervous about the test (you’re not alone), but you’re reading up on the CLASS manual, watching practice videos, and emailing reliability support when you get stuck—generally just making sure your CLASS lens is polished and ready to be put to the test. You’re ready. Almost.
Just like anything worth doing, there’s no substitute for the hard work of thorough preparation (I’m talking to you, CliffsNotes), but there are a few things you can do to make taking the reliability test, and CLASS coding in general, a little easier. Here are a few of my favorite tips.
1. Review (maybe even print out) these “cheat sheets”
CLASS isn’t a checklist, but the quality, frequency, and duration of effective interactions is what separates a low-range score from a high-range score. Sometimes we can get excited when we spot an indicator of effective interaction (“She and the child both laughed! That’s matched affect, an indicator of Positive Climate!”), but we have to remember to look at an observation holistically. If a teacher displays matched affect once during an entire observation, that doesn’t necessarily qualify her for a high-range score. If she frequently or consistently matches her affect to the children in her care—well, that’s another story.
That’s where this chart comes in handy. It breaks down the words we can associate with low-, mid-, and high-range scores and makes for a helpful companion as we assign score ranges to indicators:
After we identify ranges for indicators, the next step is assigning specific numerical scores to CLASS dimensions, which can get tricky. Luckily for us, there is a science to CLASS, and the CLASS manual comes with a chart that breaks down each number value on page 17:
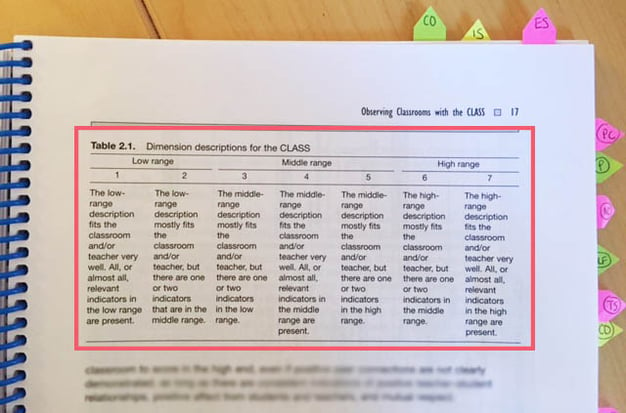
My trainer recommended making a copy of this chart and keeping it handy during the test. I took her advice and found it super helpful. You can also attach to your clipboard for easy reference as you sit through observations to ensure you’re approaching scores objectively.
2. Meet your new BFF: tabs
During your Teachstone CLASS training you may have received a little kit of tabs and post-it notes. This wasn’t just a nifty souvenir to remind you of your training or a convenient new place to jot down your grocery list (though both are valid uses). The tabs in this kit are PERFECT for organizing your CLASS manual so that when you take the test you don’t have to constantly flip through the book to find the dimension in question.
You have total creative freedom on this, but here’s how I organized my manual:
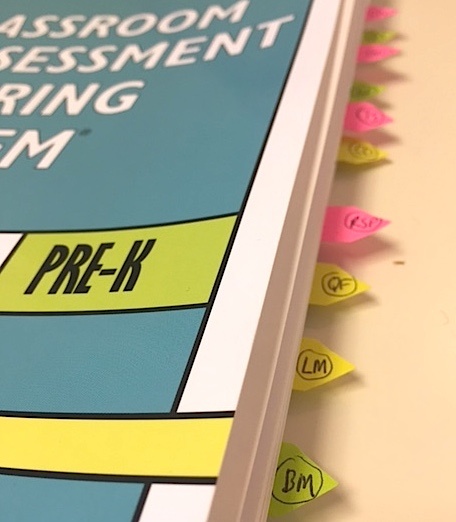
I put domains at the top, then added tabs for each dimension with abbreviations (PC for Positive Climate, ILF for Instructional Learning Formats, etc.). For extra fun—and because I’m a teensy bit obsessive—I even color-coded by domain. The tabs not only help with the test, but are also fantastic when you’re out in the field doing live coding.
3. Get crafty with your score sheets
You also should have received a highlighter during your training. You don’t need me to tell you that highlighting important text in the manual will draw your eye to it during the reliability test for things that might trip you up. But beyond that, you can also use your highlighter to customize your score sheets to your note-taking preferences.
Per my trainer's recommendations, I take my notes on what I see in the videos by dimension. To keep me on track, I use the different colors of the highlighter to break down the notes section of the score sheets accordingly.
Here’s what my score sheets look like:
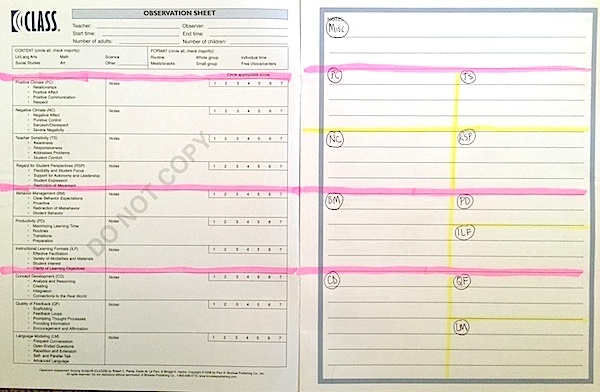
I find that if I’m prepared, I generally know where to place an example of an interaction, but sometimes I need more time to think about exactly what dimension that example belongs in. In that case, I just put the note at the top (in Misc.) and then place it after the video ends. This also helps me consider what might not fit into the CLASS at all if I’m not sure during the video.
4. Read the descriptions that follow the face page.
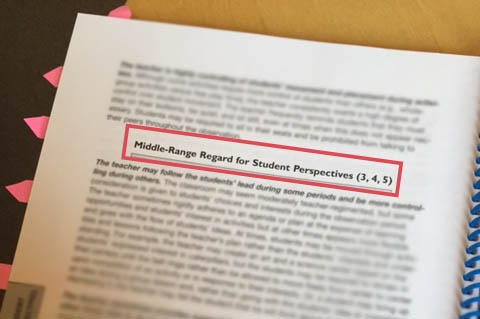
After considering the evidence you have made note of, look to the DEFINITION of the dimension you are coding. What is the purpose or focus of this dimension? Start at the first indicator and consider whether the low, mid or high range sentence would be the best place to begin your coding process. Once you do that, turn to the descriptor pages to see if that is characteristic of what you saw. THEN, and this is important, take a look at the “next best” fit descriptor and decide which better describes what you observed. Mark that choice on your score sheet (LMH) at the indicator level.
5. Score Instructional Support first
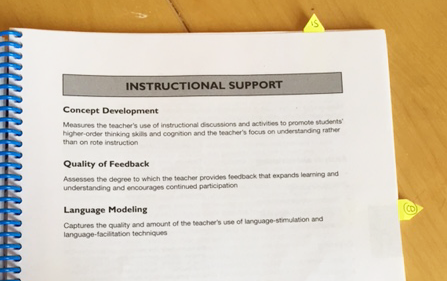
Instructional Support can be a tricky CLASS domain, for teachers, mentors, and observers alike. It’s nuanced. It's complex. Plus, many of us didn’t encounter effective Instructional Support interactions when we were students so we lack internal models of what these interactions should look like.
In addition to spending extra time watching exemplars of Instructional Support in the Video Library as you prepare, try scoring the dimensions in the Instructional Support domain for each video in the test first. This way, you’re using your brain while it’s at it’s freshest and least depleted to tackle the hardest coding challenge first.
These are just a few of my favorite “hacks” for the CLASS reliability test, but just like the teachers we observe, we all have our unique styles, tastes, and preferences. I’d love to hear from other observers out there (or certified observers-to-be) what tricks you use to help you through the test—or live coding, for that matter. Share yours in the comments below, and best wishes on the test!

%20(1500%20%C3%97%20768%20px).png?width=1500&name=Low%20Mid%20High%20(1700%20%C3%97%20768%20px)%20(1500%20%C3%97%20768%20px).png)
